
Hi Ladies
I do apologise for the long gap between blogs but I have been called to do Jury Duty. I am travelling into Sydney every day (not used to having to go to the City every day 8am – 5pm) so you can imagine, not much scrapping is happening.
Anyway, I have a lot to share with you.
The Clearance Sale is now over but as AZZA Australia is phasing out the AZZA Club Cards, a Catalogue has been set up where you can use both your Cards and $$$ to purchase product. The idea behind this, is that if you don’t have enough cards to purchase something you like, you can add the $$ and thereby purchase it. The AZZA Club Cards have always been redeemable against product that was in the AZZA Club Catalogue only, this way Clients will have more choice.

This is the link you look for on the website for product you can redeem with your Club cards.
A few weeks ago I ran a class and we were going to spend a bit of time on ‘Decorating’, by the end of the class we all seemed to have used a Texture stencil so I thought I would show you some of the beautiful creations.
Texture stencils are often overlooked – but they come in very handy if you don’t want to spend too much time on decoration. They fill that corner or very ‘open’ space that you need something in. They can also be used as a background on which to build your decoration.
This is the link to the Background Texture Stencils on the AZZA Australia website:

Hazel was working on a page with pinks and blues – note she used the Texture stencil with the ‘Circle Tools’ (along the curve) to create the small border between ‘texture’ and photo. She used re-positional on the straight sides.

…. how it looked on the page ….
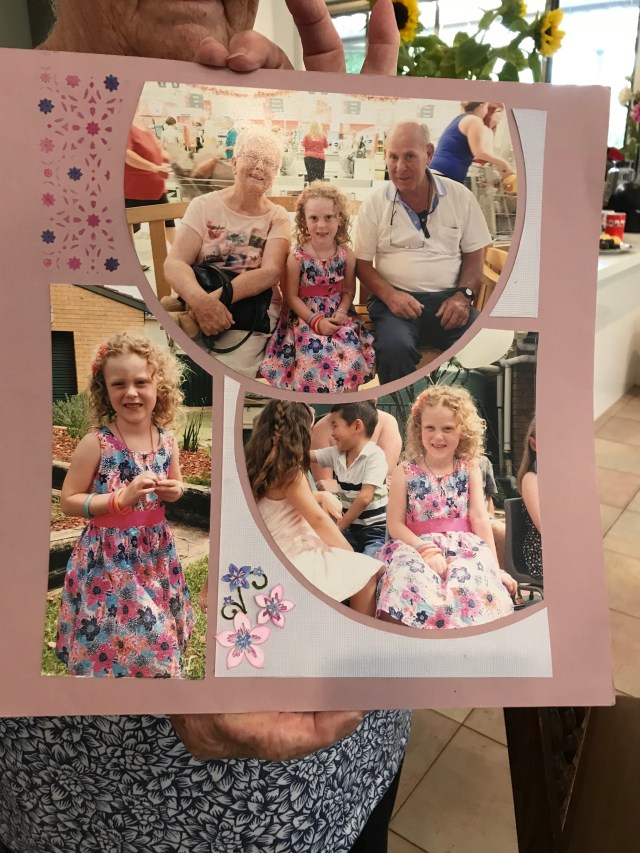
Hazel added a little blue to match the colour of the dress and a few AZZA figures in the same colour tones.

Texture Duo Stencil – Mosaic
Liz arrived to class with a page she had done at home but needed to be decorated.
A texture stencil was perfect. Again, Liz used the ‘Circles’ Tool stencil to create the border between decoration and photo:

Inking away ……

…. and the final result on her double page. If you don’t like to spend too much time on decorating, a texture stencil is great.

Texture Duo Stencil – Mesh
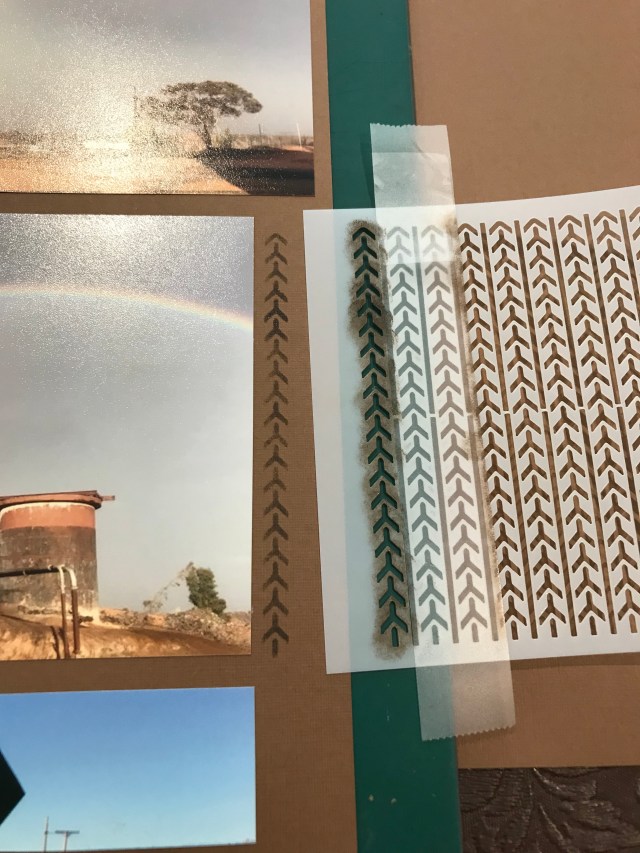
A texture stencil like ‘Mesh’ is great as it can be used with any theme on the page.
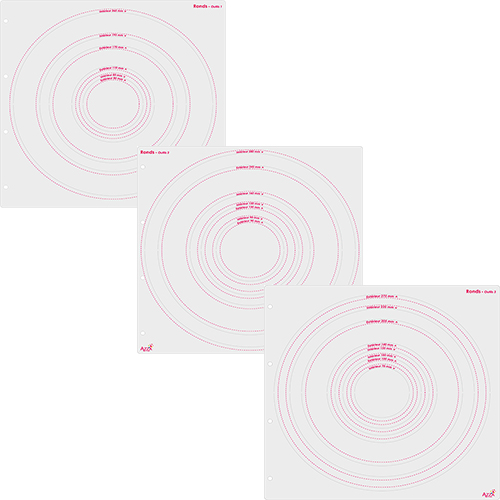
If you don’t have the Circle Stencil Tools, they are well worth adding to your collection. They can be used in so many ways. I know I showed you how to use them whilst chalking. If you would like a class on using them, please contact your Consultant and she can give you a lesson.
Lynne had a page that had a lot of ’empty space’ so once again we decided to use a Texture stencil:

You don’t have to use the whole stencil, remember you can use just a strip or part of it as seen on the next two pages:

Page by Lynne above and below a page by Helen, where we only needed a small part of the texture stencil to fill in the gap.
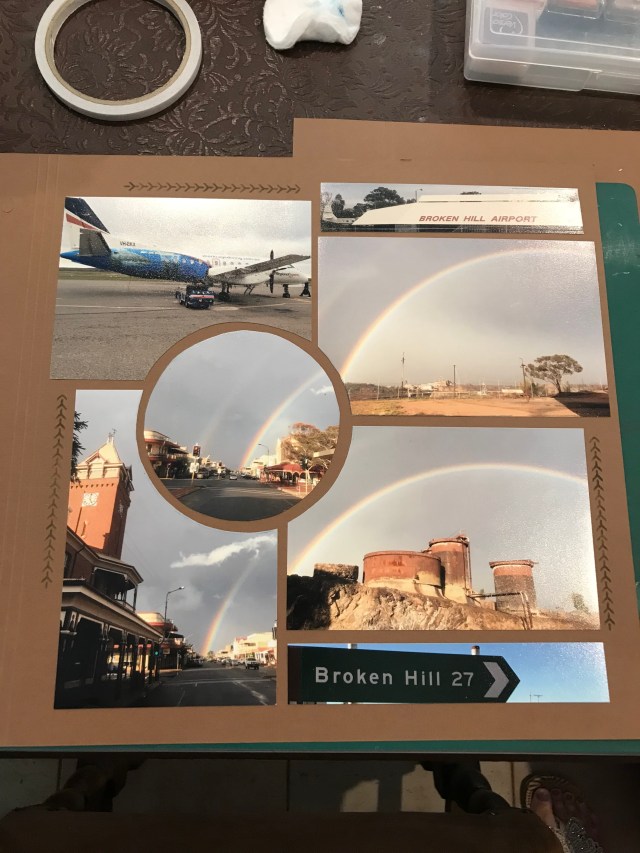
Finished off with a line and some ‘bling’!

Great for School photos is the ‘School’ texture stencil:

Texture Duo Stencil – School
Note, once again using two colours to blend in with the photos. Always work with the lighter colour first and then the darker colour.
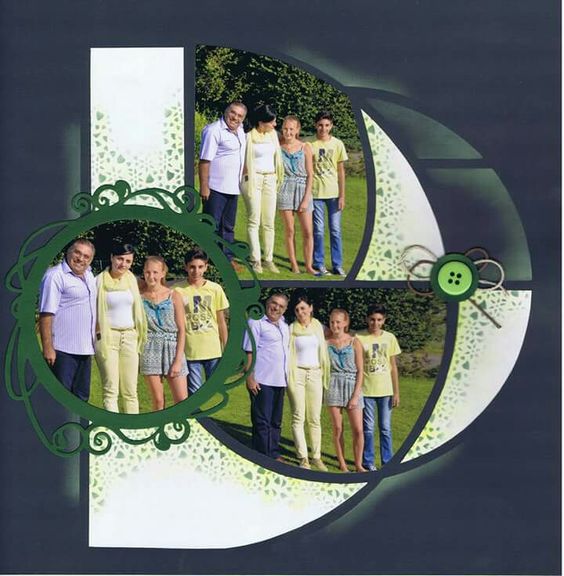
Now on to a few beautiful creations using the AZZA Orion stencil.

This is a beautiful page by Isabelle using the Orion stencil and the ‘Geometric’ Embossing folder.

This lovely page was created with the Orion stencil, the Orion cutting Die and the ‘Crusing’ Texture stencil.

Duo Texture stencil – Curising
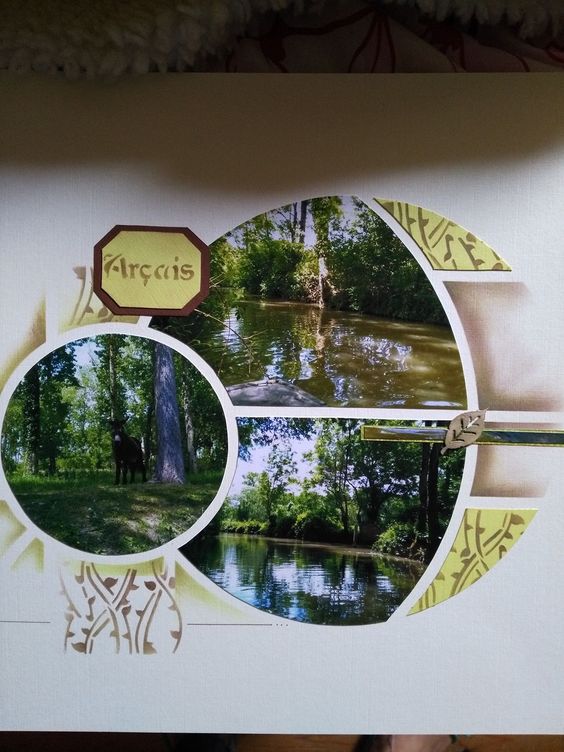
The 2 pages below were again created with the Orion stencil, the Orion cutting die and the ‘Nature’ Texture duo stencil.


Texture Duo Stencil – Nature
… and using the other side of the Texture stencil, still with the Orion stencil for the photos:
Here the Texture stencil was used on both the page and the paper cut-outs.
Now to the latest release:
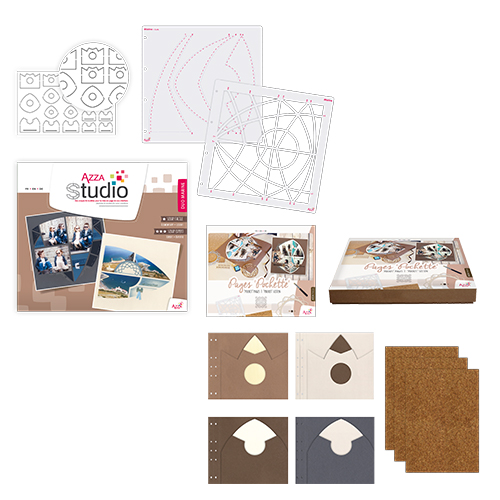
FEBRUARY SPECIAL BASKET – MARINE STUDIO and POCKET PAGES FOCUS – $123.50
This includes the Studio booklet, the Marine stencil, a sheet of figures, pre-cut pages, 3 sheets of cork and the Booklet with lots of samples of what to do with the Marine stencil with or without the pre-cut pages.
The Focus booklet is a book to complement the die cut pages used with the stencil set MARINE.

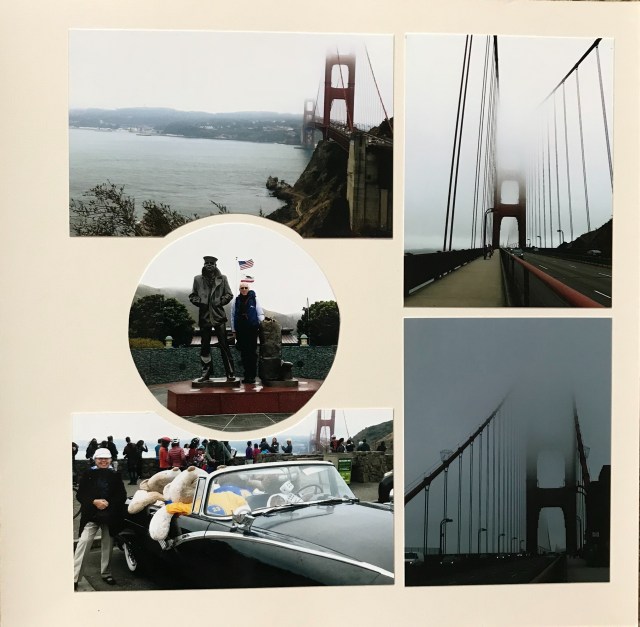
I managed to create a layout with the Marine stencil, the Mosaic cutting dies and the pre-cut pages. I did have fun as there are just so many ways to use the pages.

The beautiful Husky Home that we visited on our travels through Norway. For this creation I have used the Marine Stencil, the new Mosaic Cutting Die, Trees and Leaves Cutting Dies and the Mosaic Stamps and Figures.
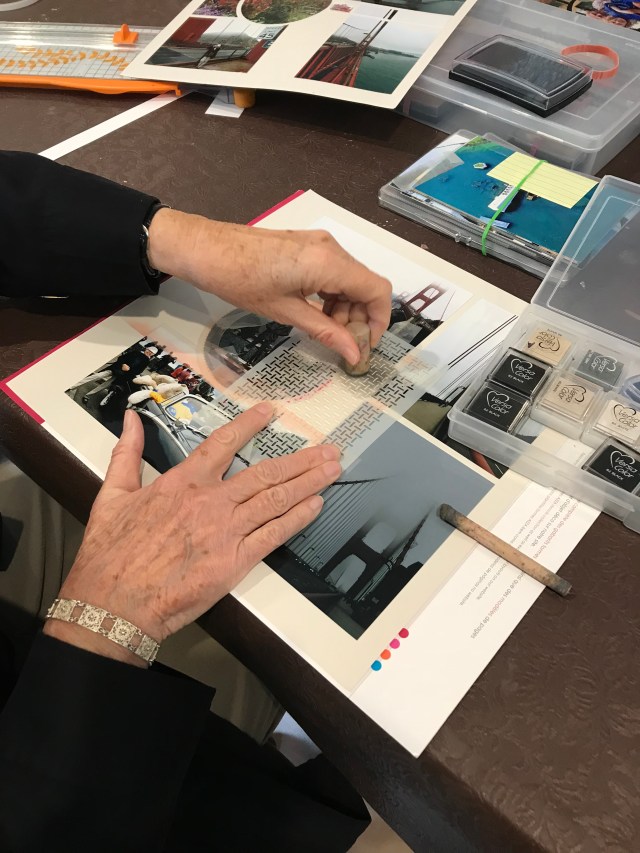
Note how I have coloured in the stamped image once I had stamped it in black.

I also used the ‘tool’ side of the stencil for my chalking and line so I could get the clear border between the photo and the chalking/line.

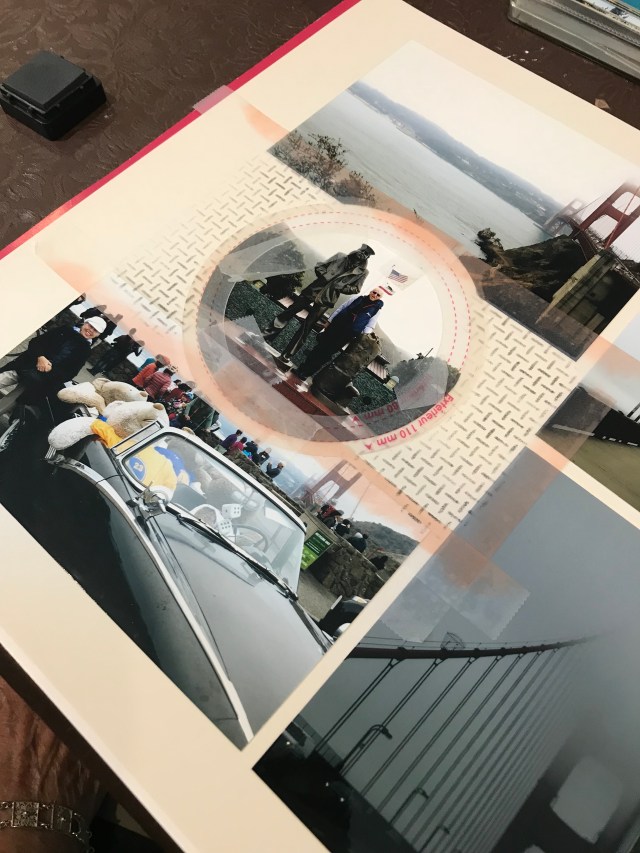
Once opened, you can see the little ‘lift-out’ shape. I have used paper cut-outs and chalking to finish off the gaps. For decoration I have used the Mosaic figures which are great for any theme. I coloured them with AZZA Chocolate ink and then mounted them on Black card to make them stand out.
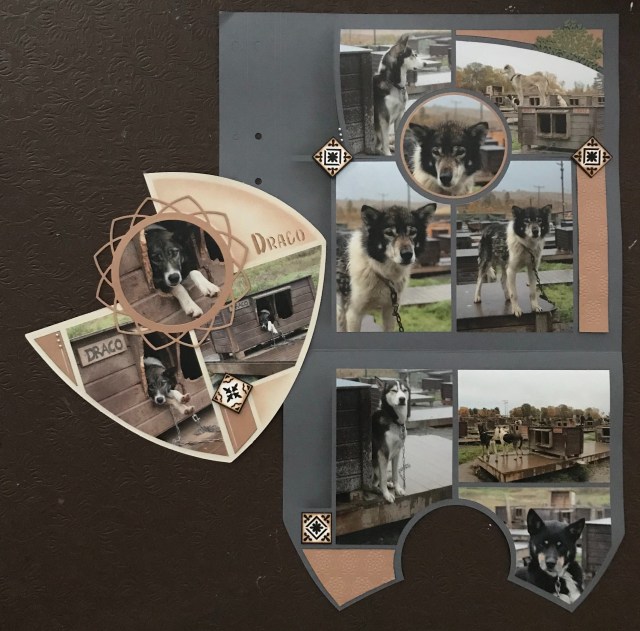
These pre-cut pages allow you to use a lot of photos.

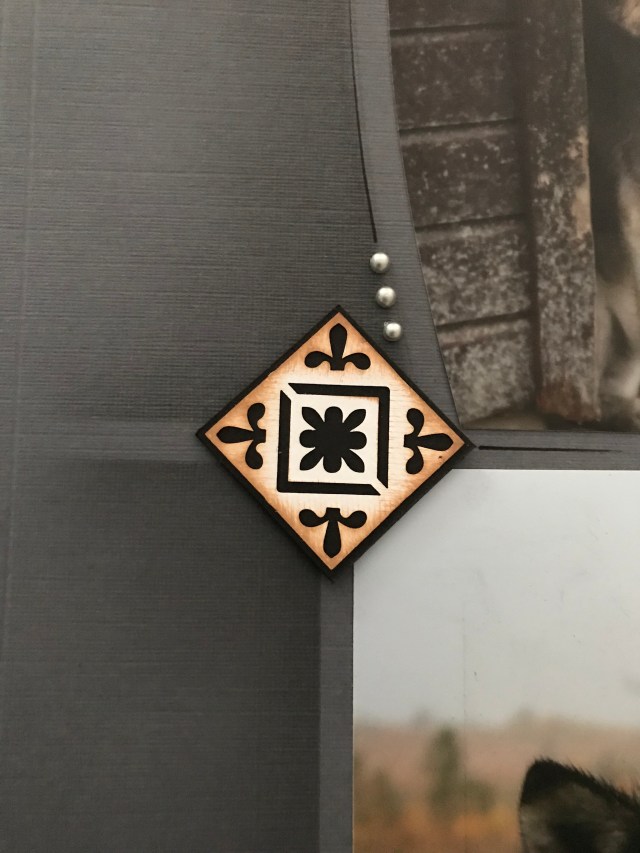
Cutting Dies ‘MOSAIC FRAMES’
$ 49.00
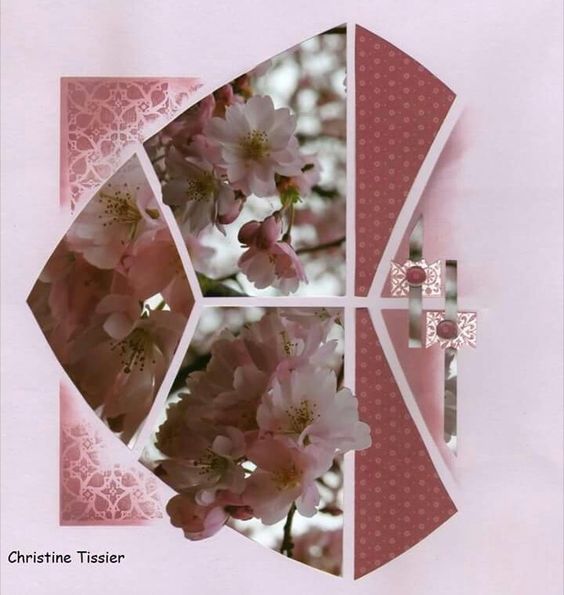
Now for a few samples using the Marine stencil I found on the internet:
My favourite is this ‘Single photo’ creation, also using the Cutting Dies above.


Note how Texture stencils have been used on these pages.

…. and lastly for a lovely double page creation by Chantalouscrap using the ‘Mesh’ Texture stencil I showed you earlier.
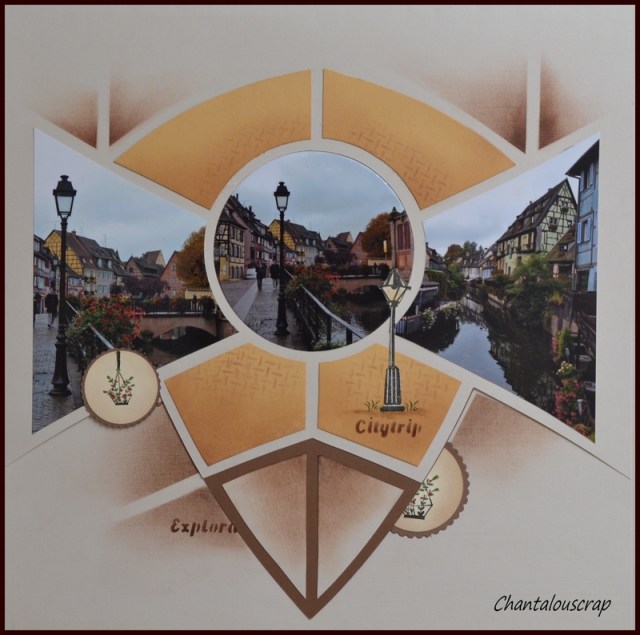
The little ‘Lamp Post’ is from our ‘Walk in the Park’ Theme kit.

The page flipped to the top …

A beautiful set of pages.
Well Ladies, that should keep you going – the new product is lovely to work with. If you find the pre-cut pages daunting, please get hold of your Consultant and ask her for a class. They are fun and you can create a little story within the set of pages. If you are using plactic pockets, you can just slit them down the side and then open the pages up. They do add fun to your albums.
Happy Scrappin’
Lyn


You must be logged in to post a comment.