

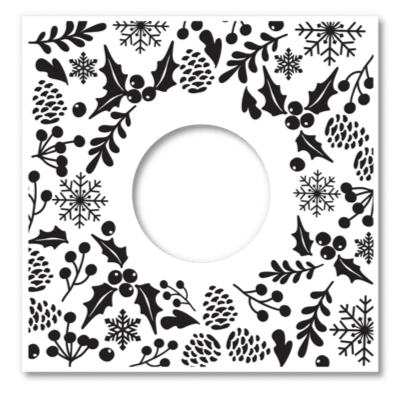
There is still time to make your Christmas cards this weekend and get them into the post on Monday. This collection above from AZZA Europe has been made with last year’s products which are still available; do pop along to the AZZA Shop if you have missed anything.
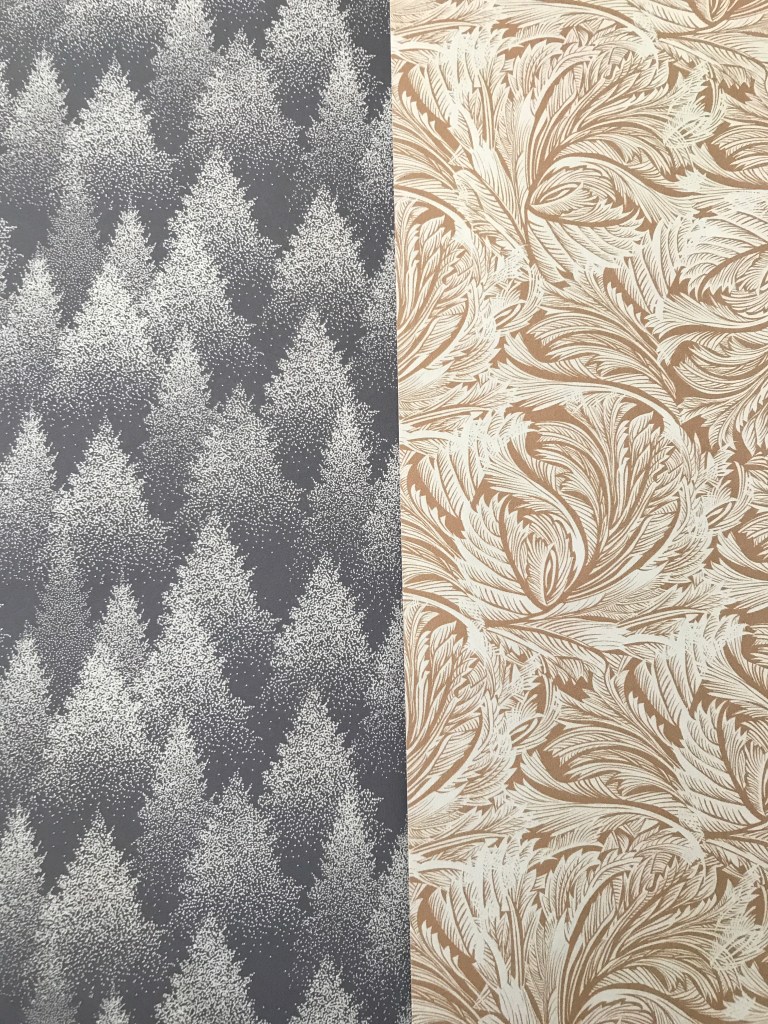
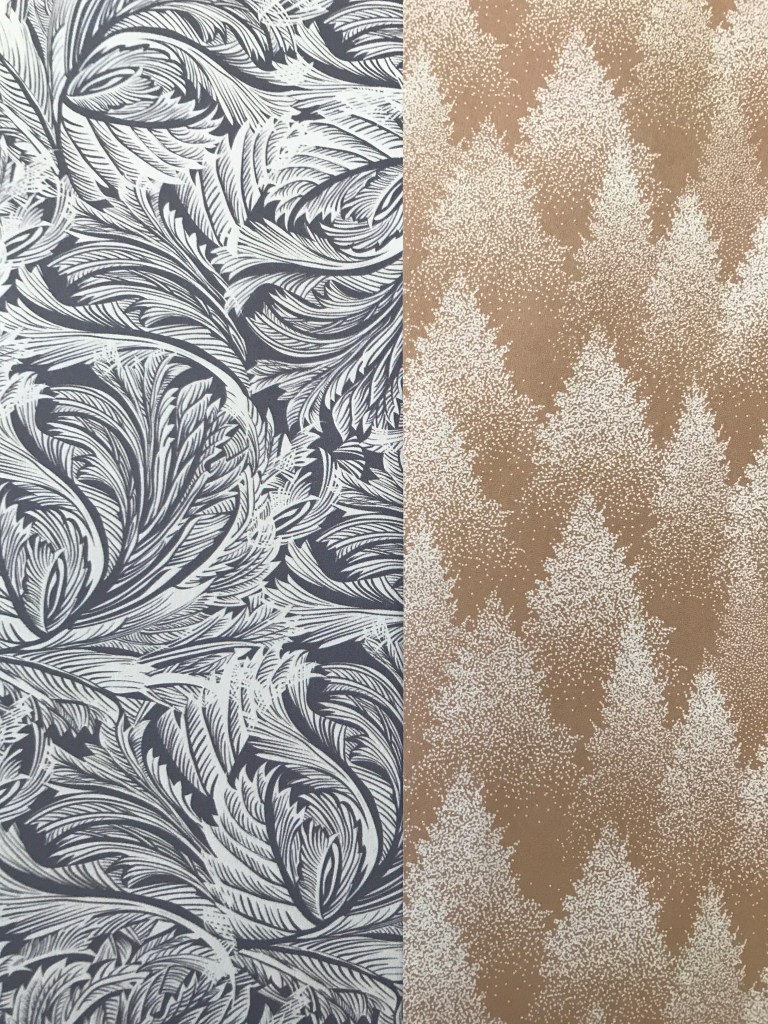
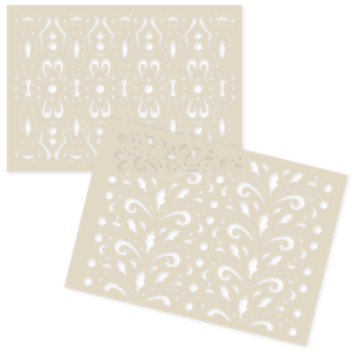
This year the Christmas papers are beautiful and can be used throughout the year. The colour theme is brown and blue. Each pack has 8 papers, 4 in the blue and 4 in the brown tones. Papers are double-sided for 4 of the patterns below in blue and 4 in the browns.
With the temperatures in Perth at 40 today and staying up there for four days I am not going out the door so have had time today to play with some of the Christmas products. It’s not too late to get an order in before Christmas.
AZZA does have Christmas Gift Vouchers so you could always get your loved ones to pop online and buy you one to place under the tree.

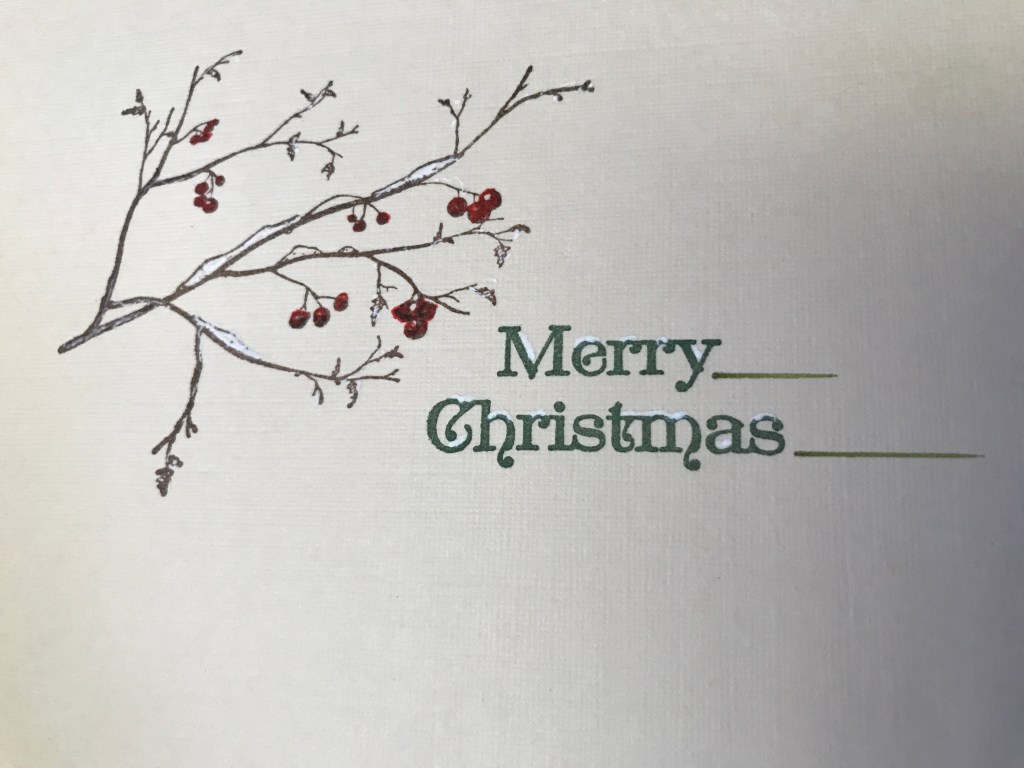
The first card I made this morning was for a member of the Mail Out – I wanted to use products that they had already been sent. I used the Card stencil released last year and started with white ink to get the idea of the shape.
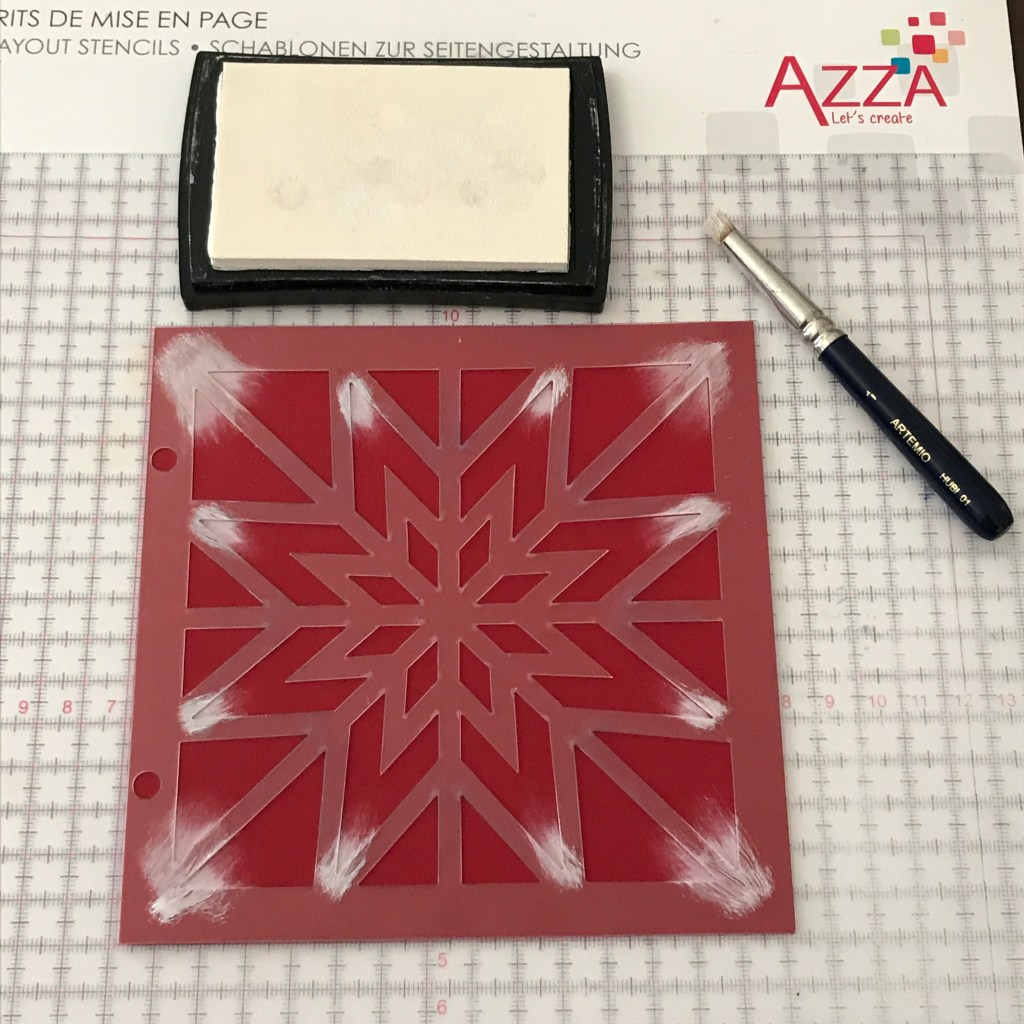
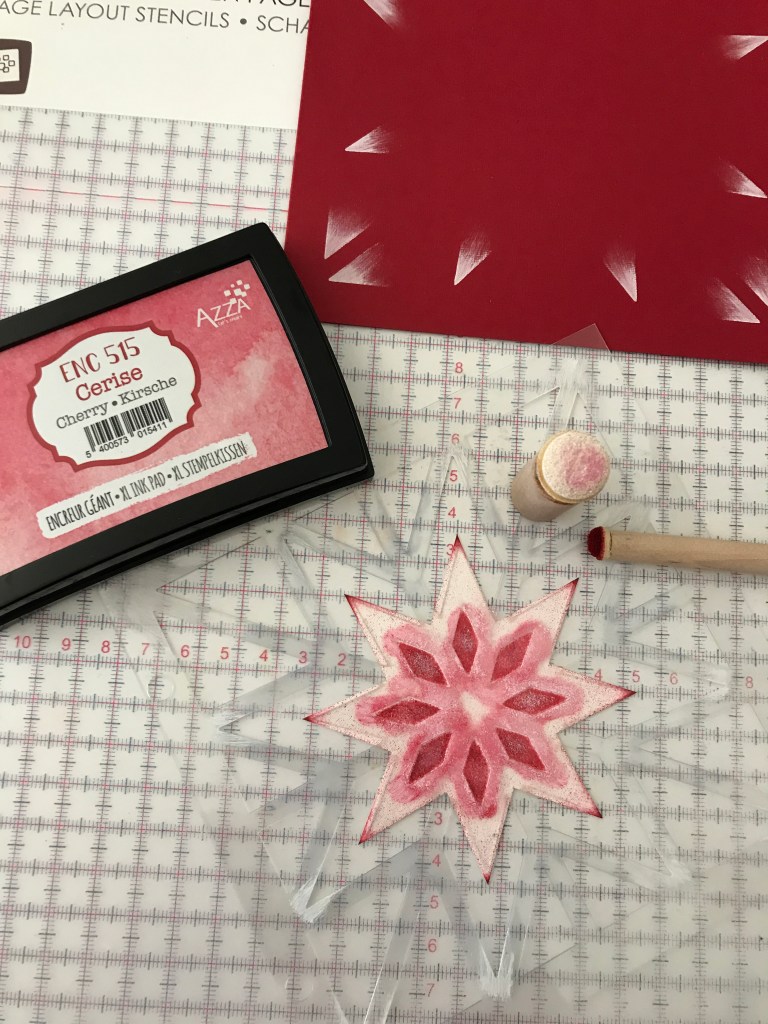
Next I created a star shape on white paper by marking and cutting on the OUTSIDE of the inner star shape. I then used the new Cherry ink and placed the ink on the tips of the star straight from the pad and used a narrow dauber to ink the shape of the stencil. The star was very ‘white’ so I very gently dabbed the ink pad over the whole shape to give it an ever so light mottled look. I didn’t want the red too dark in the pattern so used a Pom Pom with white ink to finish with.

Place the star onto your card:
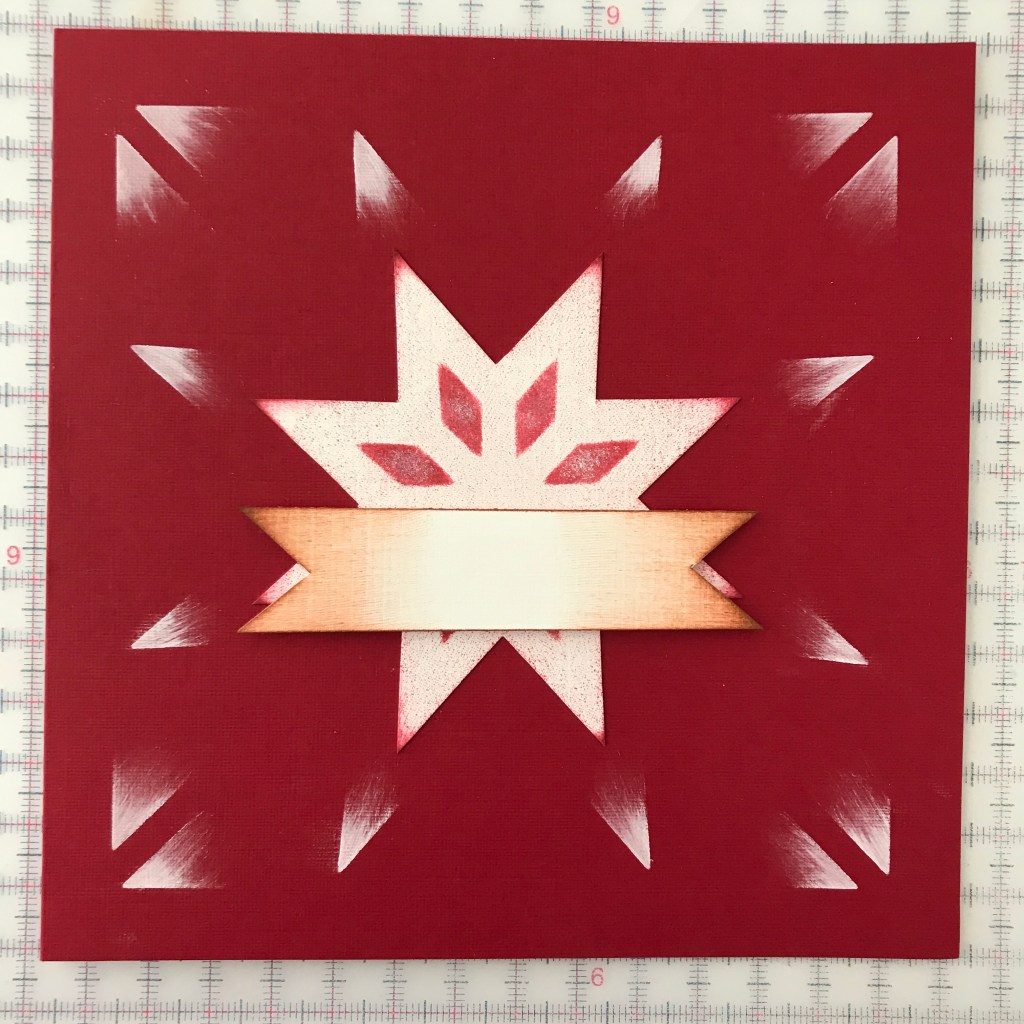
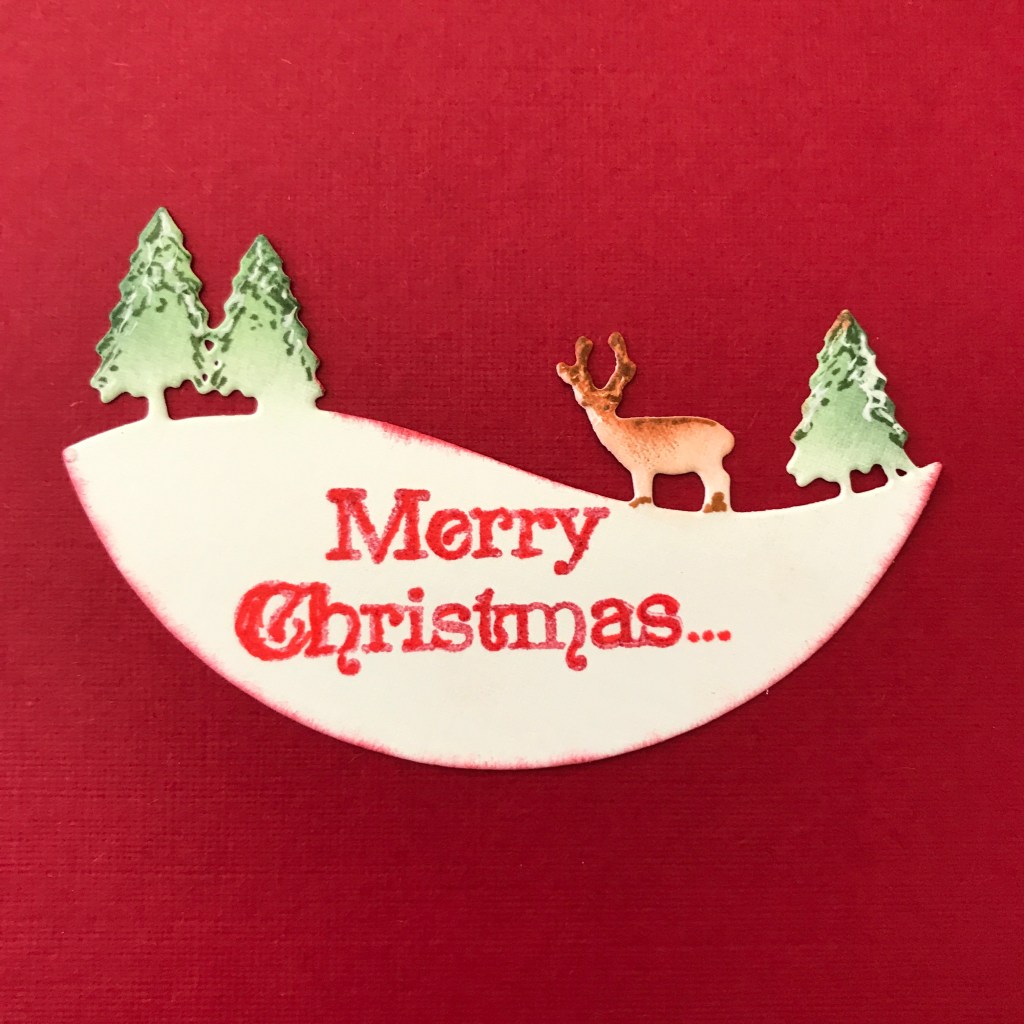
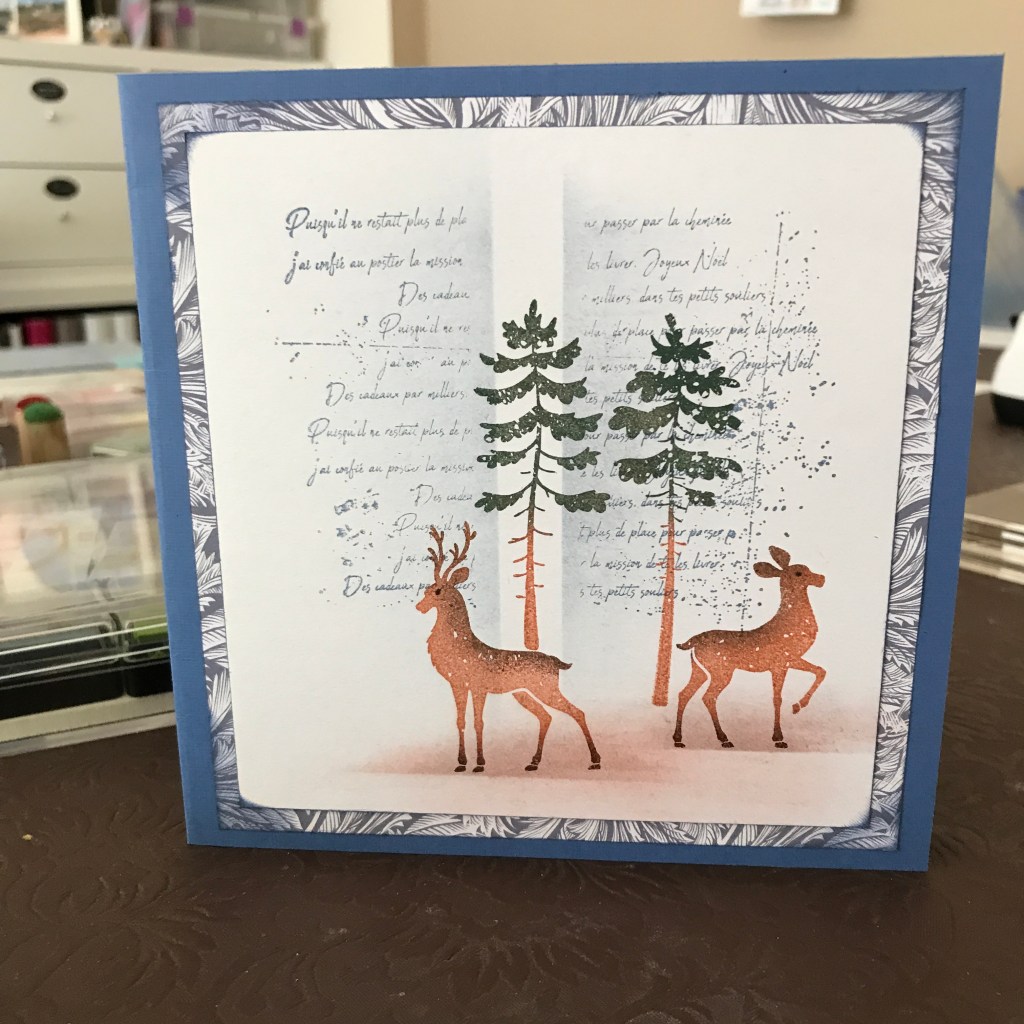
I cut a 2cm strip and inked the ends, again with the ink pad so that I got the darker shades to the ends (I used the AZZA copper ink). Now you have a canvas to place any decoration on – I used the lovely Deer head from last years products as the Mail Out had received these both stamped and unstamped last year. You can use ribbon or the AZZA cord behind your image to add some texture.
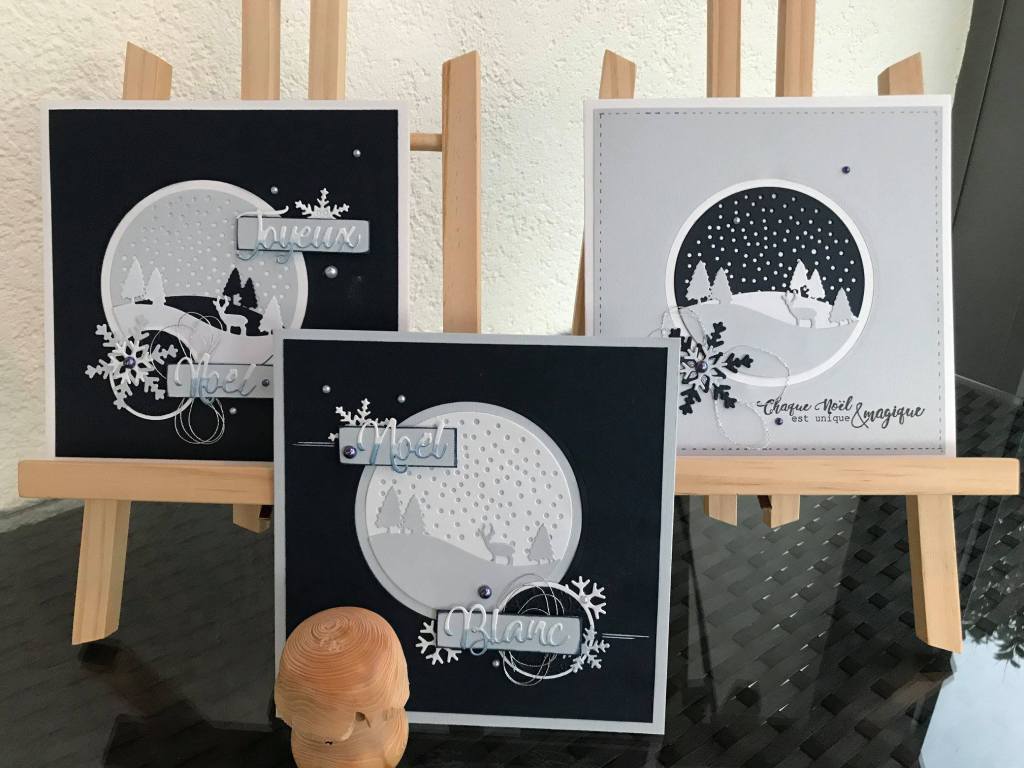
Don’t forget the inside of your card, I used one of the shapes from the lovely cutting die set released by AZZA last year. These are still available ….
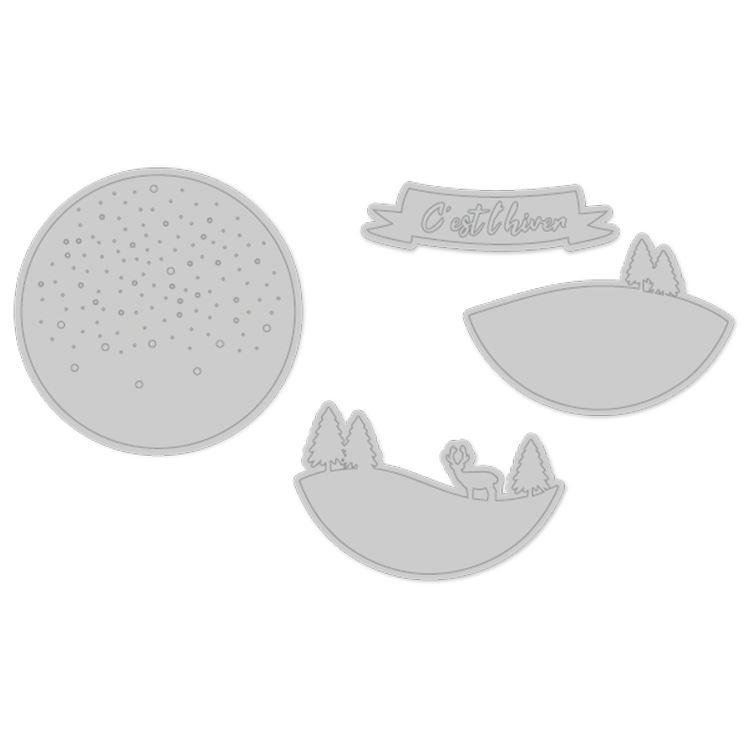
You can make very elegant cards with this cutting die set as seen below.
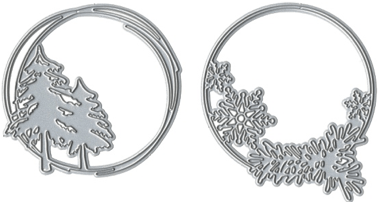
Now to a few cards with the new AZZA Christmas products. With the first two cards I used the AZZA Embossing stencil Festive Branches which is a 15cm x 15cm embossing folder. On the red card I used white ink in the embossing folder before I ran it through the machine. I then cut a hole out the centre with the AZZA Sewn Circle cutting die. I then cut 2 of the new shapes, Christmas Ambiance and coloured them with inks and pens.
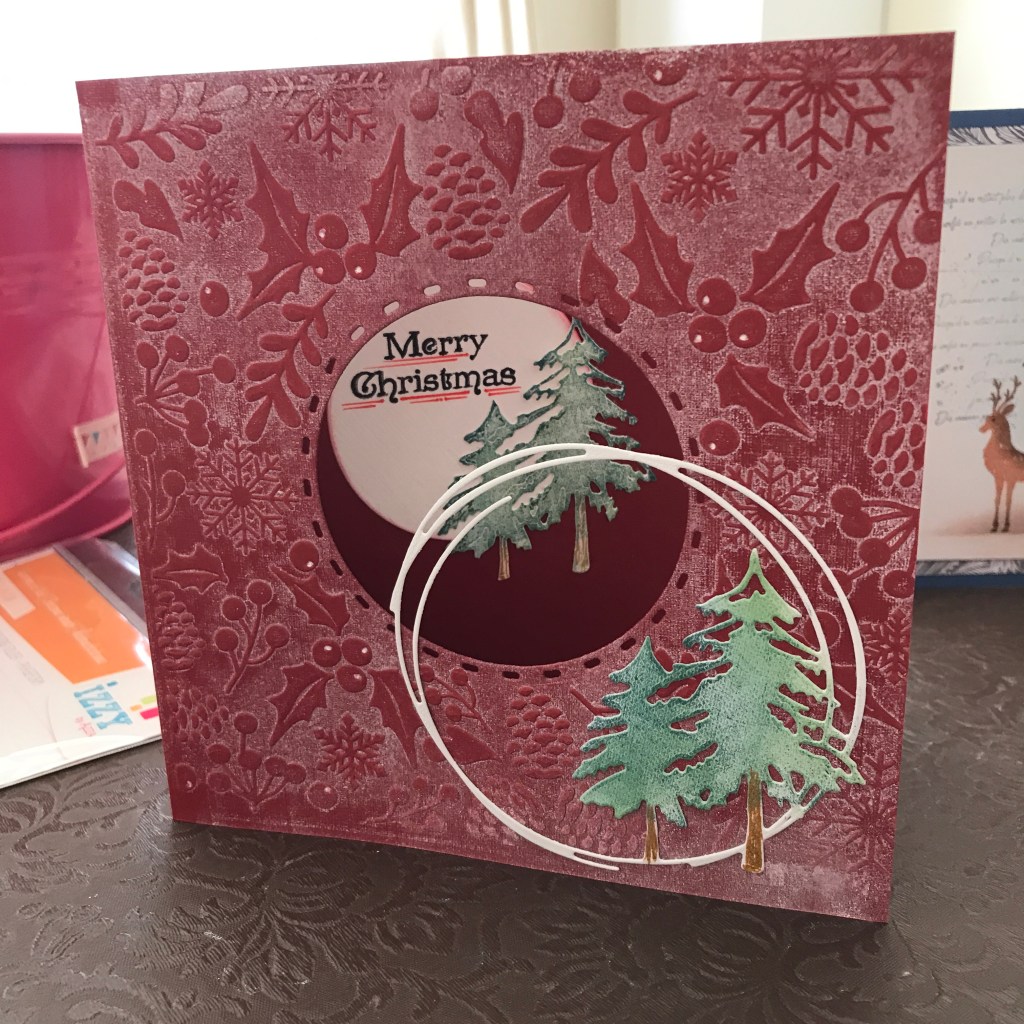
I used a white gel pen to dot the berries on the front of the card and attached the die shape using the AZZA dots, perfect for a image that is so fiddly.

As I had cut a circle in the front of the card, I cut a smaller circle out of white card, inked the edges and used the second die cut, but the trees only.
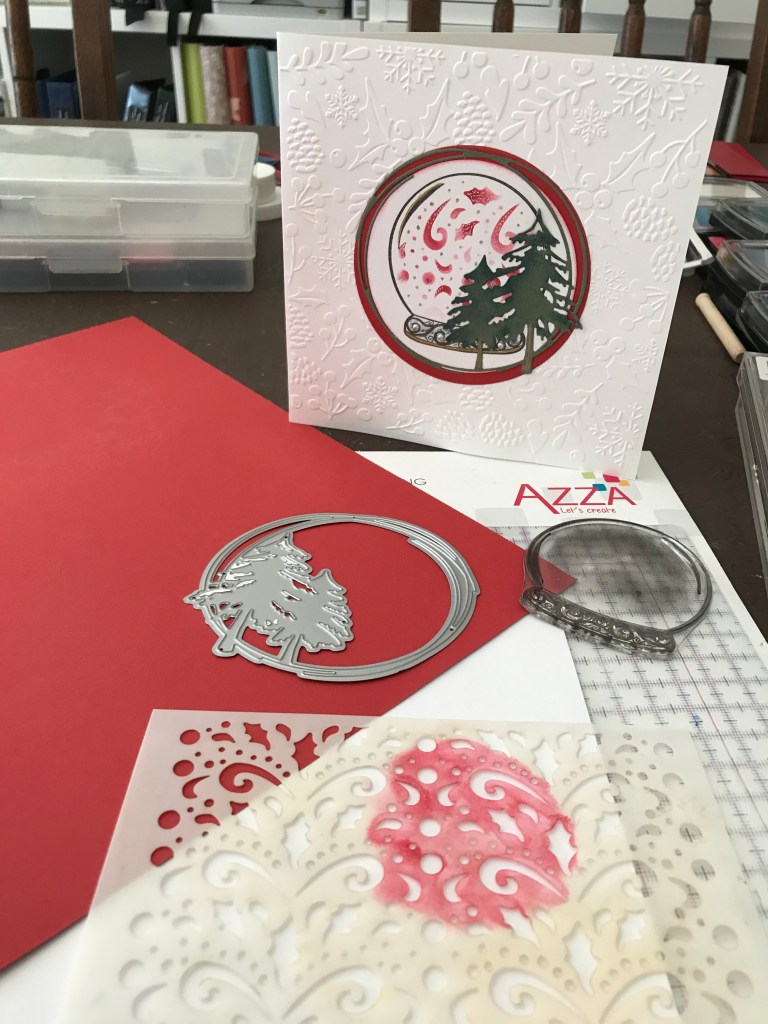
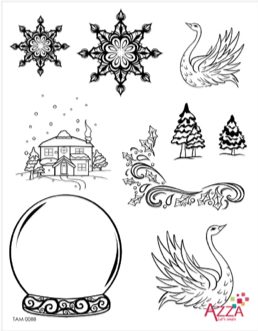
The next card I made I used the same embossing folder and cutting die but also used the Christmas texture stencil and the beautiful little Snow globe stamp off the large set of stamps.
As you can see there is a blank circle in the middle of the folder so I cut a circle out of AZZA Scarlet paper and a smaller circle out of white card upon which I stamped the Snow globe. I then decorated the Snow globe with the AZZA duo Frosty Lake.
Lastly I cut out the Christmas trees in the AZZA mid-green paper and constructed the card.
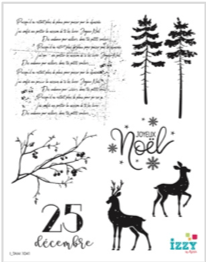
For the last two cards I used the AZZA large set of stamps (above): Christmas Ambiance. It is BEAUTIFUL and I just loved working with it. The first card I used the Christmas Ambiance paper; this paper is double-sided, both sides quite different. The ‘tree’ side matches well with the Embossing stencil Frosty Lake.
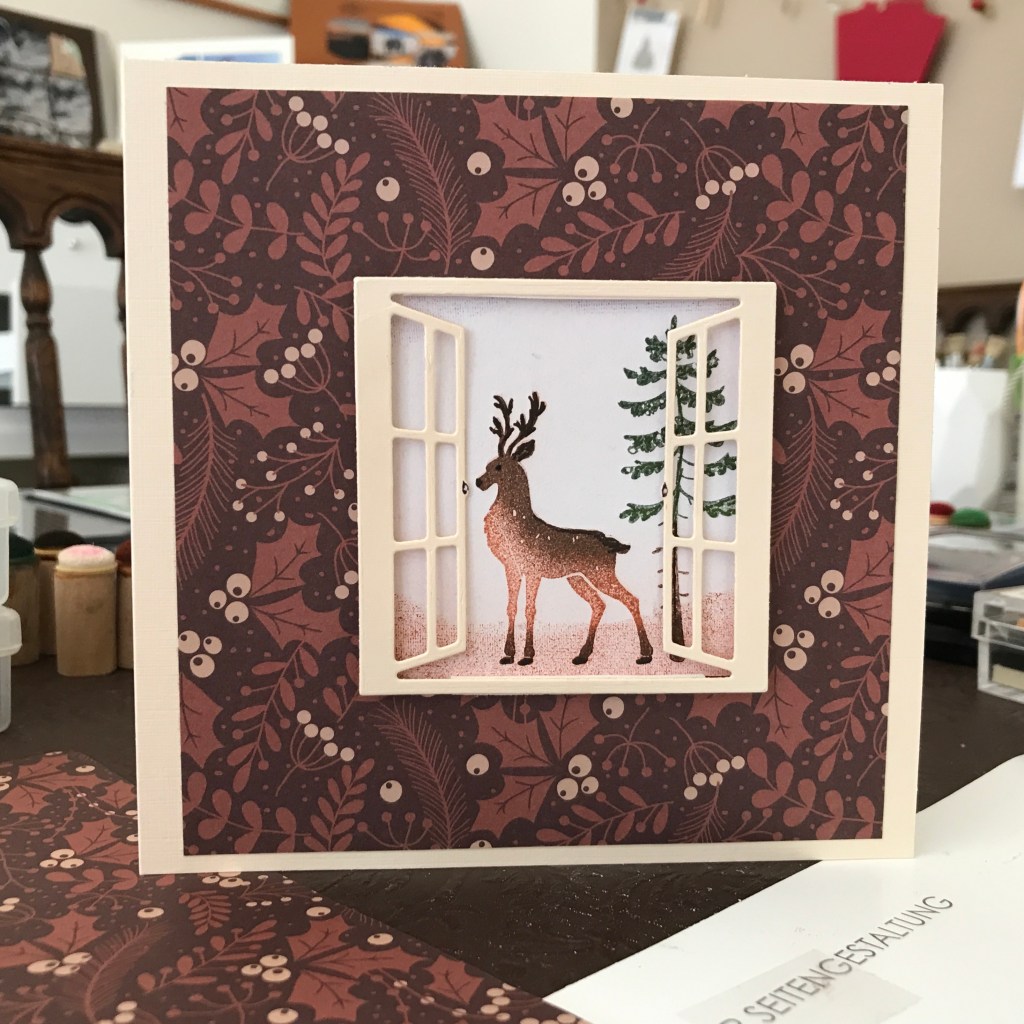
I cut a square of white paper that would fit behind the ‘Window’ die and decorated it with two of the stamps. For the reindeer I used both the copper and chocolate ink. I used a torn piece of paper and the ink pad to colour the picture top and bottom. I used the NEW AZZA thin strips of 3D foam to mount the frame onto the picture. I then mounted it onto the card with double sided tape. I completed the inside with another of the stamps from the set and pens.

For this card I used the Frosty lake paper mounted on a blue AZZA card. I cut a piece of white card and then used the same stamps as above. Firstly, I stamped the fine writing twice with a strip of tape down the middle so I could then chalk either side of it for a different effect. You could just use the stamp as it is and chalk over the stamped image. By doing it the way I have, I manage to draw out the image to cover a larger area. I then stamped the trees and lastly the 2 reindeer. Note how I covered the stamp in the copper ink first then added a little chocolate ink for depth. I love these stamps as they have a fleck in the deers which gives them such character straight away. All you need to do is add the eye and darken the hooves a little and they are perfect. Finish your card with a little chalking below their hooves. I decided not to use pens as I wanted a lighter finish.

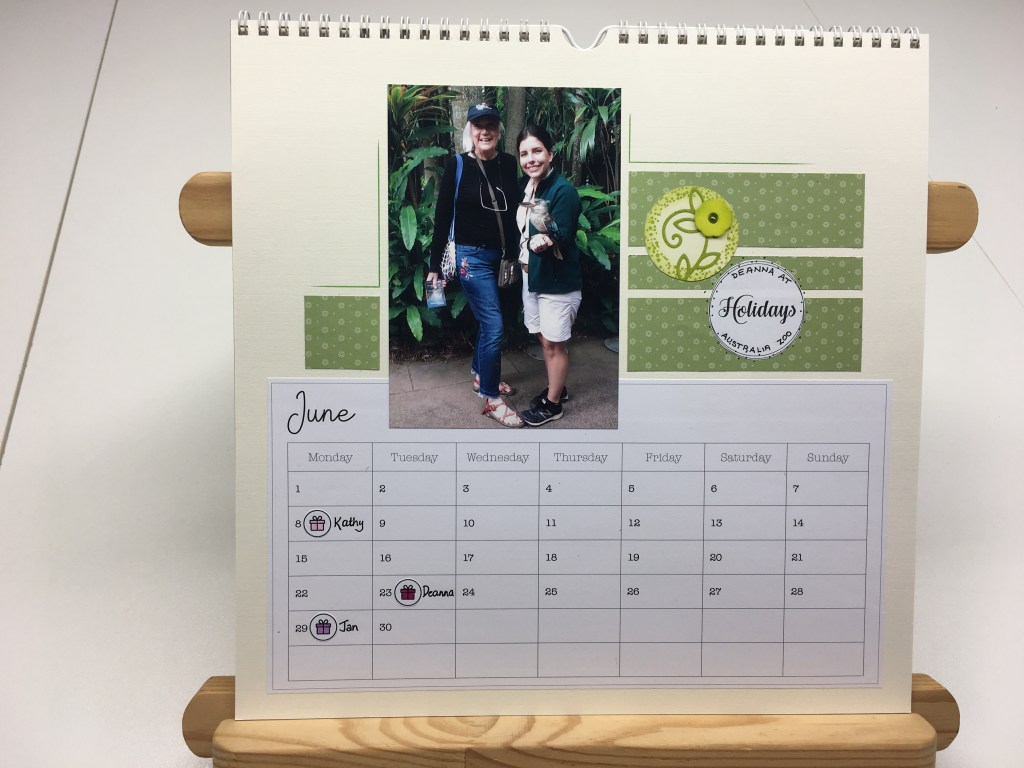
Another AZZA Christmas product I would like to draw your attention to is the Calendar that has been released this month. It is a wonderful gift, when I lived in Europe I made a calendar for my family every year. As you make up the months, you can begin in whichever month you like so can be used as a gift throughout the year.
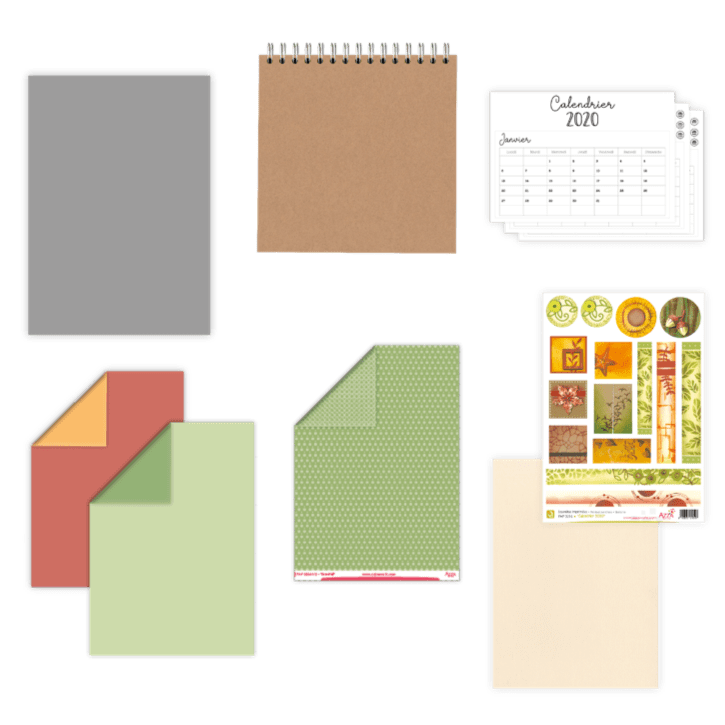
The calendar comes with all the product you need to complete the project and plans for each page. AZZA Australia will send you the months in English – if you want to re-use the calendar the year after; you just need to change the sheet with the month on it. Here are a few of Anita Day’s pages from the calendar she has created.

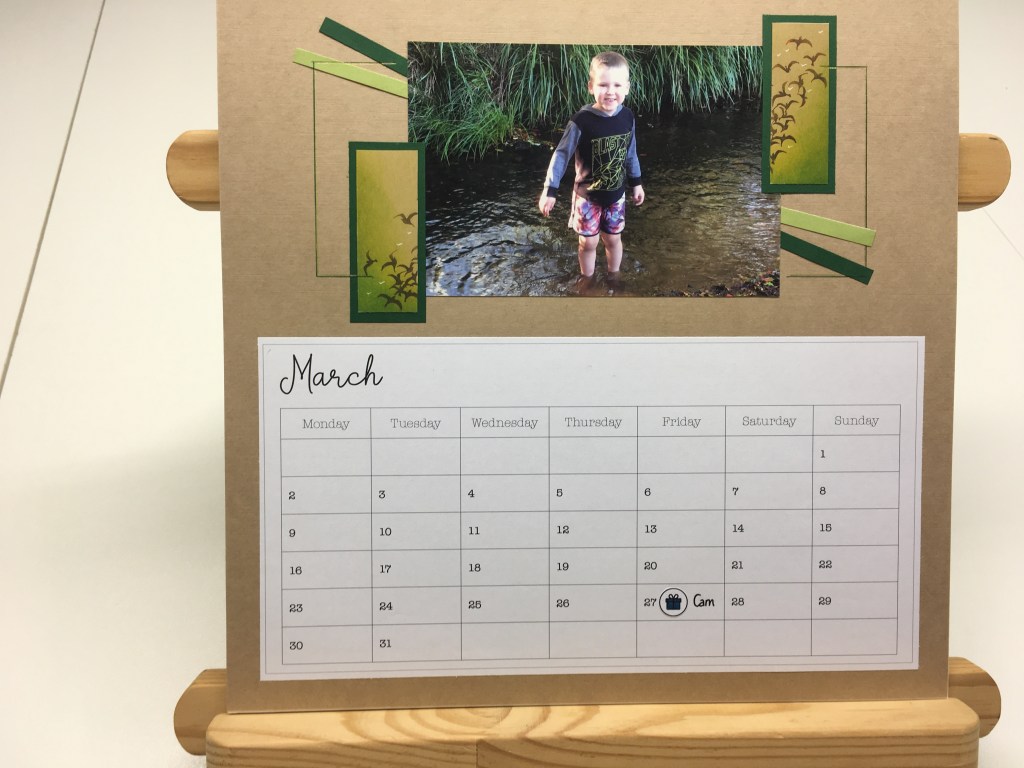
Page by Anita Day, Queensland, Australia
Page by Anita Day, Queensland, Australia
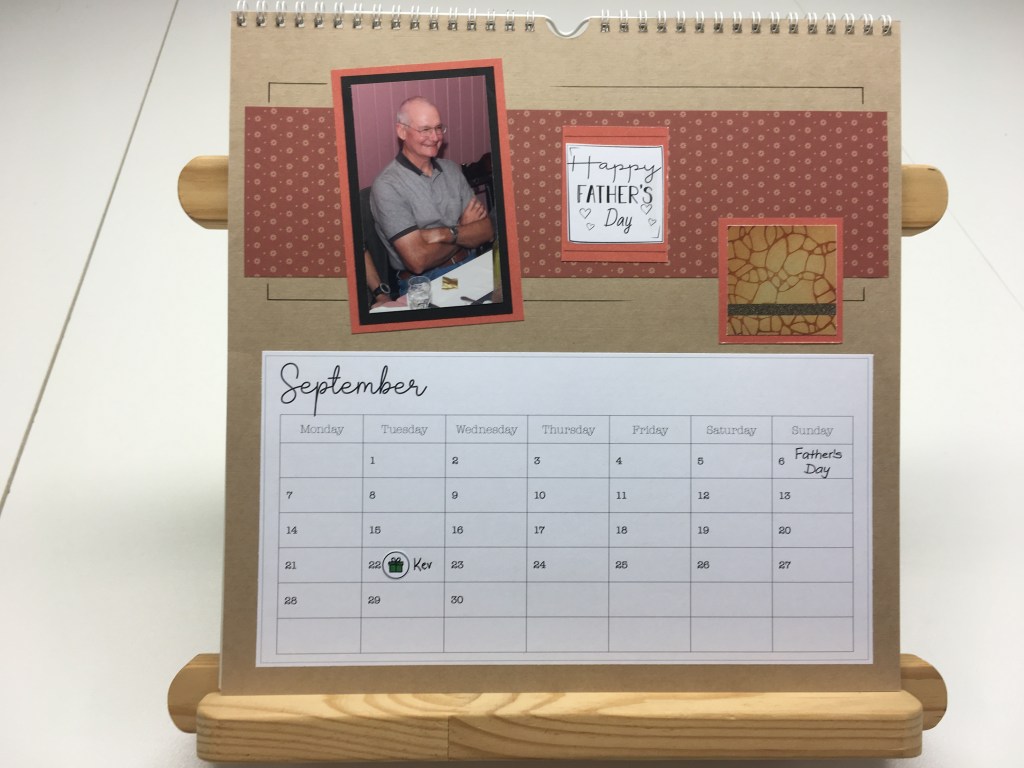
The little titles and images for the birthdays are also included (in English) or you can use any of your AZZA stamps or dies.
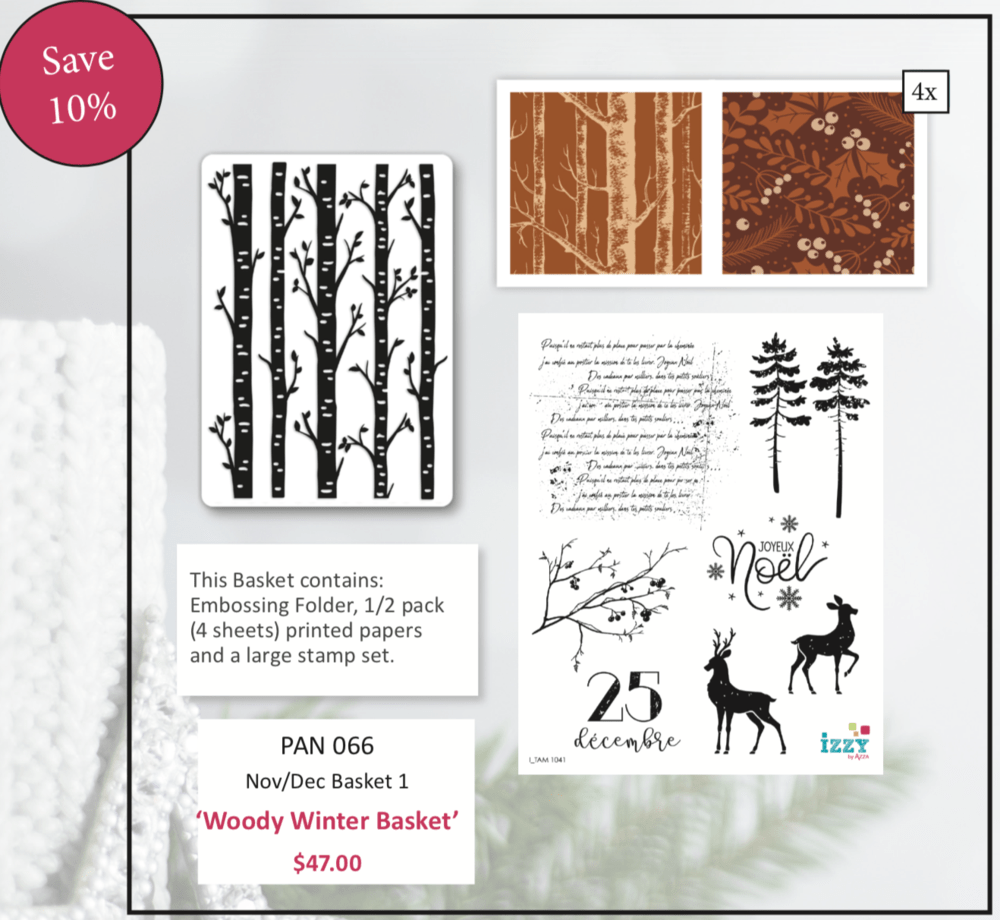
There are TWO baskets for November/December. The first is Woody Winter in the shades of brown including the lovely stamp set I have used above, this is priced at $47.00.
The second basket in shades blue: Frosty Lake – $59.50.

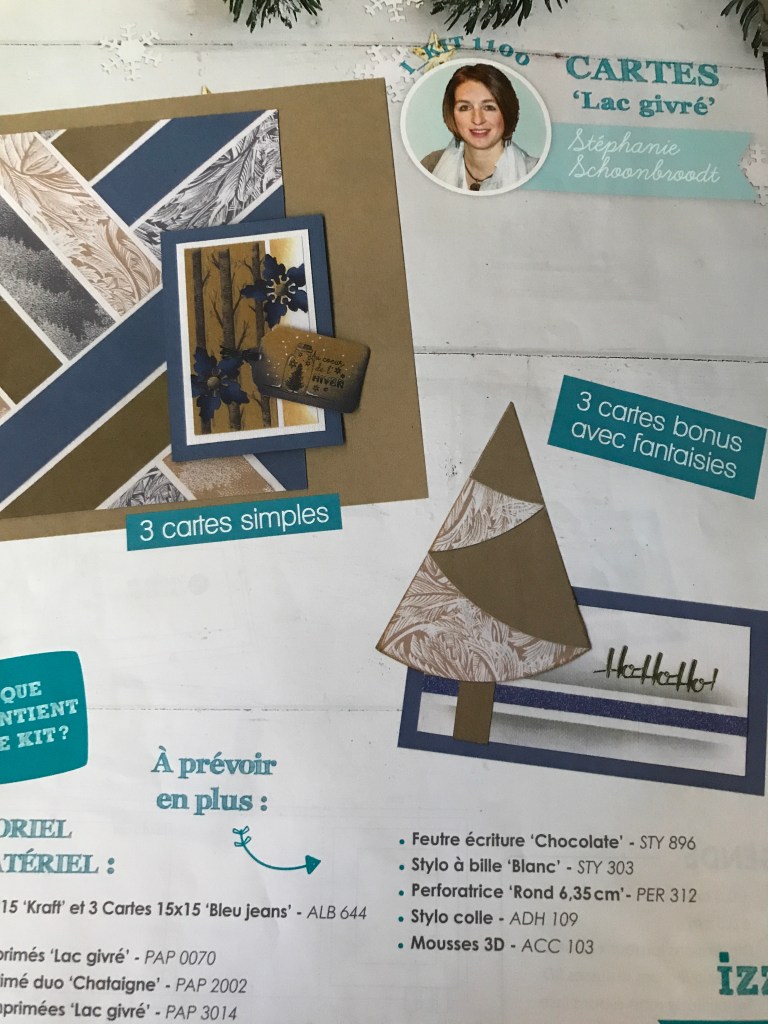
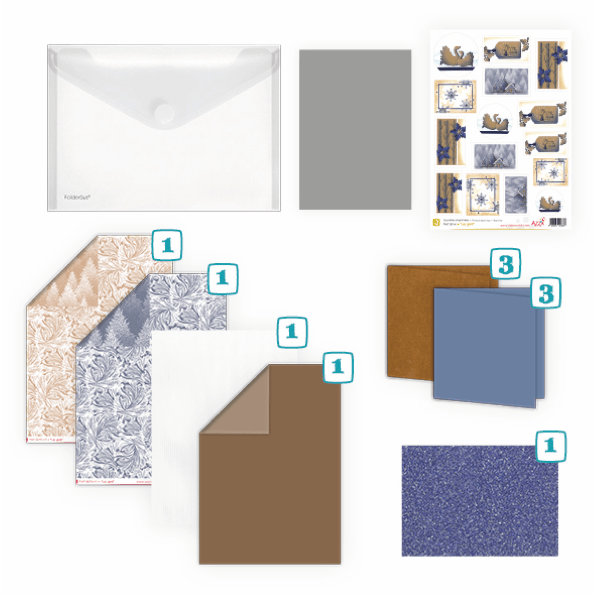
An Express Christmas Card Kit. The kit contains instructions for 7 different Christmas cards.
It’s not too late to get your order before Christmas, but you will need to have your orders in by close of business (Brisbane time) on Tuesday 17th December. I say Brisbane time as being in Perth – Brisbane, Sydney, Melbourne all have different time zones for me now and just far too complicated. With each of the four Directors in a different state you can imagine trying to set a meeting time!! Lunch time for me and dinner time for the others!!!

Now I have time, I hope to share with you a little more on Christine’s visit and the Masterclasses to come.
Happy Scrappin’
Lyn


hi Lyn are we doing anything specific at thurs,class or just our own pages. thxs
Sent from my Samsung Galaxy A5 (2017) on the Telstra Mobile Network